Thursday 26 July 2012

Mesquite Smoked Chicken with Roasted Tomatillo Salad


Barbecues are so fun! As we know from the steak post, I have been grilling up a storm this summer. But a person can’t eat red meat and blue cheese every single day of their life, because that’s just pure self-indulgence! 

            I decided to try a smoked chicken recipe today. I chose mesquite wood, to bring me back to my Arizona days, but you can also do hickory, apple, or cedar. Our 
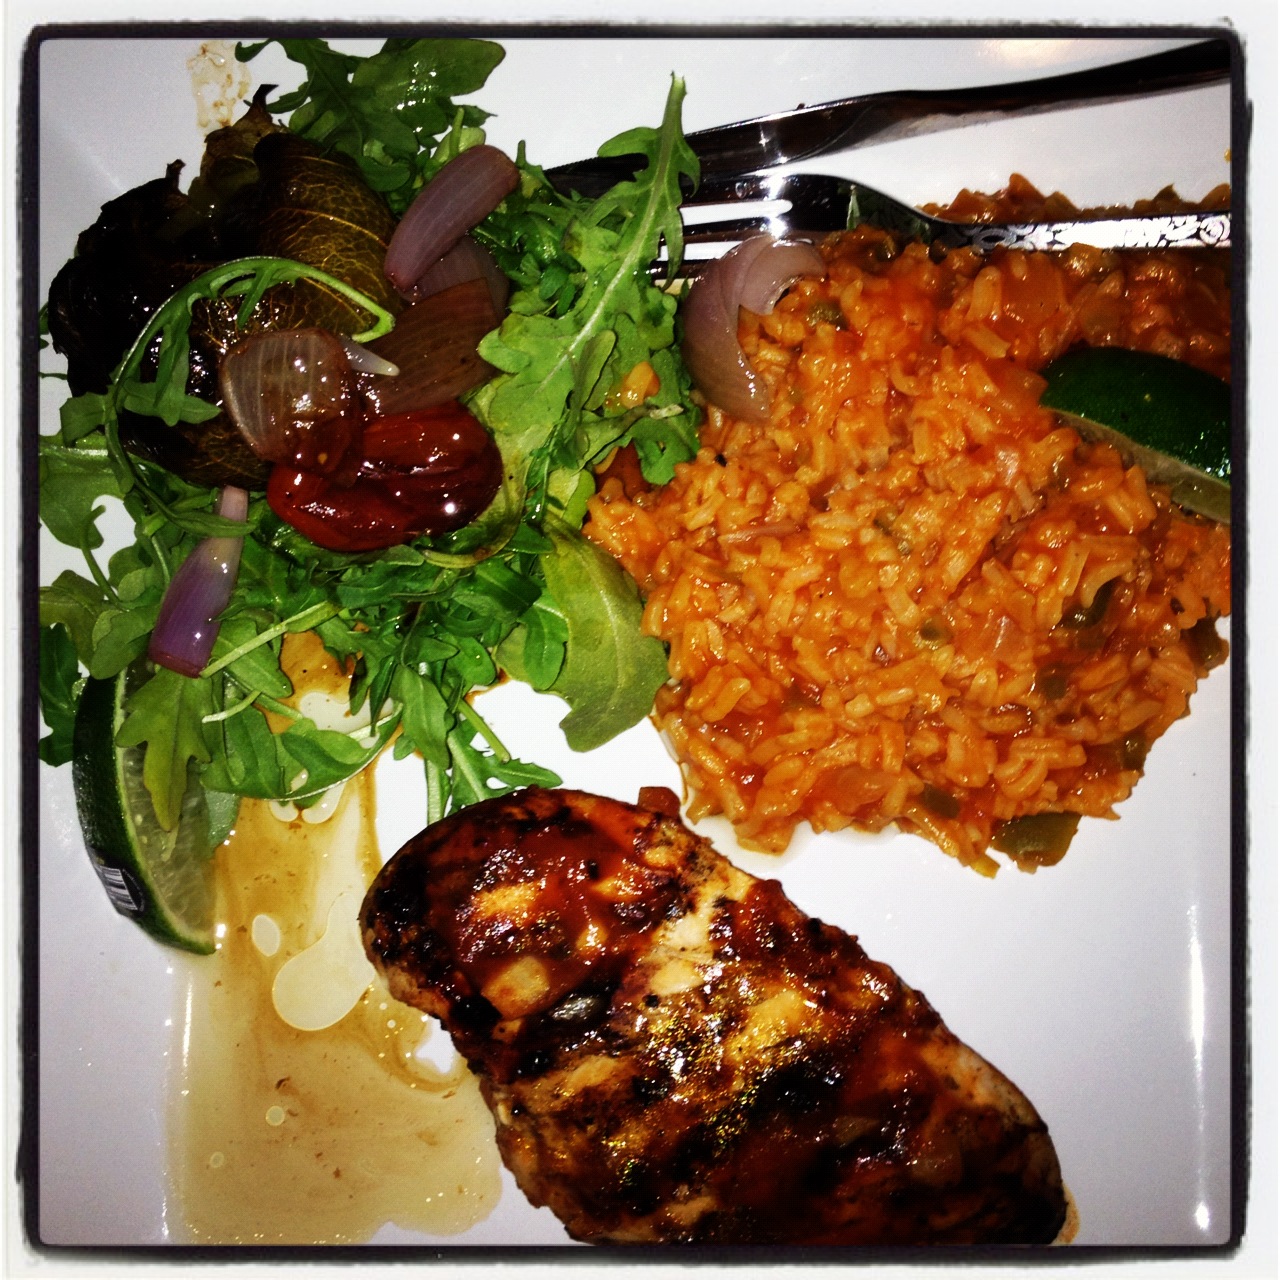
menu is mesquite-grilled chicken with roasted tomatillo salad and the Costa Rican rice that was posted a few days ago. This menu is definitely worth the trouble I took to find the ingredients.

            The first thing you need is wood chips. Canadian Tire had a great selection, although the fellow who helped me wasn’t particularly informed. I asked if I could put my tinfoil packet of wood chips on the grill, and he didn’t feel that would work. When I asked if I could put the tinfoil packet on heat element underneath the grill, he said he “didn’t think that would be a good idea AT ALL.” Well, too bad for him, because he did not provide a solution besides buying coals for my barbecue, but that seemed like far too much work, so I just experimented and it turned out fine to put the chips on the grill next to the chicken.

            Next I had to go to the grocery store to get the rest of the ingredients. The tomatillos completely puzzled the teenage girl working at the cash. She pulled one out of the bag and said, “What the heck is this?” in a tone only 16-year-old girls are capable of. Just before I could answer, the other teenage girl at the next cash said it was a fig. “No, it is not a fig,” I said. I told her what it was and had to spell it twice. “Oh right! Oh my Godddd, those things are SO annoying. They come through my cash all the time, and I never know the code, ha-ha!” Sure, blame it on the tomatillos.  

            At this point, madness ensues because my cashier can’t find them in the computer. So yet another teenager comes over and tells her it’s the code 4601. Fiddleheads come up. “Is it also called a ‘fiddlehead’?” she asks me.

“No. A fiddlehead is a fern that hasn’t unfurled yet,” I say.

“Oh. Well. I don’t know the code for it, so…” she says, as though I’m just going to say, “Oh well, to hell with the tomatillos then!” and put them back.

Clearly I’m more determined than she presumed, because then I said, “Oh. Well. I want them, so…” as in, “Find the damn code, Cookie.” All of a sudden the cash becomes the OK Corral, as we find ourselves in a standoff. The woman behind me starts huffing so loudly I thought she was having an asthma attack. But it wasn’t my fault Loblaws stocks tomatillos and then doesn’t tell the staff where to find the code.

            Luckily, the teenage boy had enough energy to run over to the tomatillo area and come back with the code, just in time for the woman behind me to leave my cash and go directly behind someone who must have been on Extreme Couponing, what with all the goods in her cart. Peace was restored though when the code is in fact 4801, and they are as cheap as dirt. I walk away from the ‘Blaws feeling jubilant about this delightful dinner.

            Now, there is no better way to make your neighbours jealy.com than to smoke delicious foods. I even invited mine to dinner so as not to make them feel badly. To make the smoking last though, and to lessen the chances of burning down your house, (and everyone else’s, in my case, because all the houses connect) you must soak your wood chips in water for about half an hour first (or however long it says on the bag of wood chips).
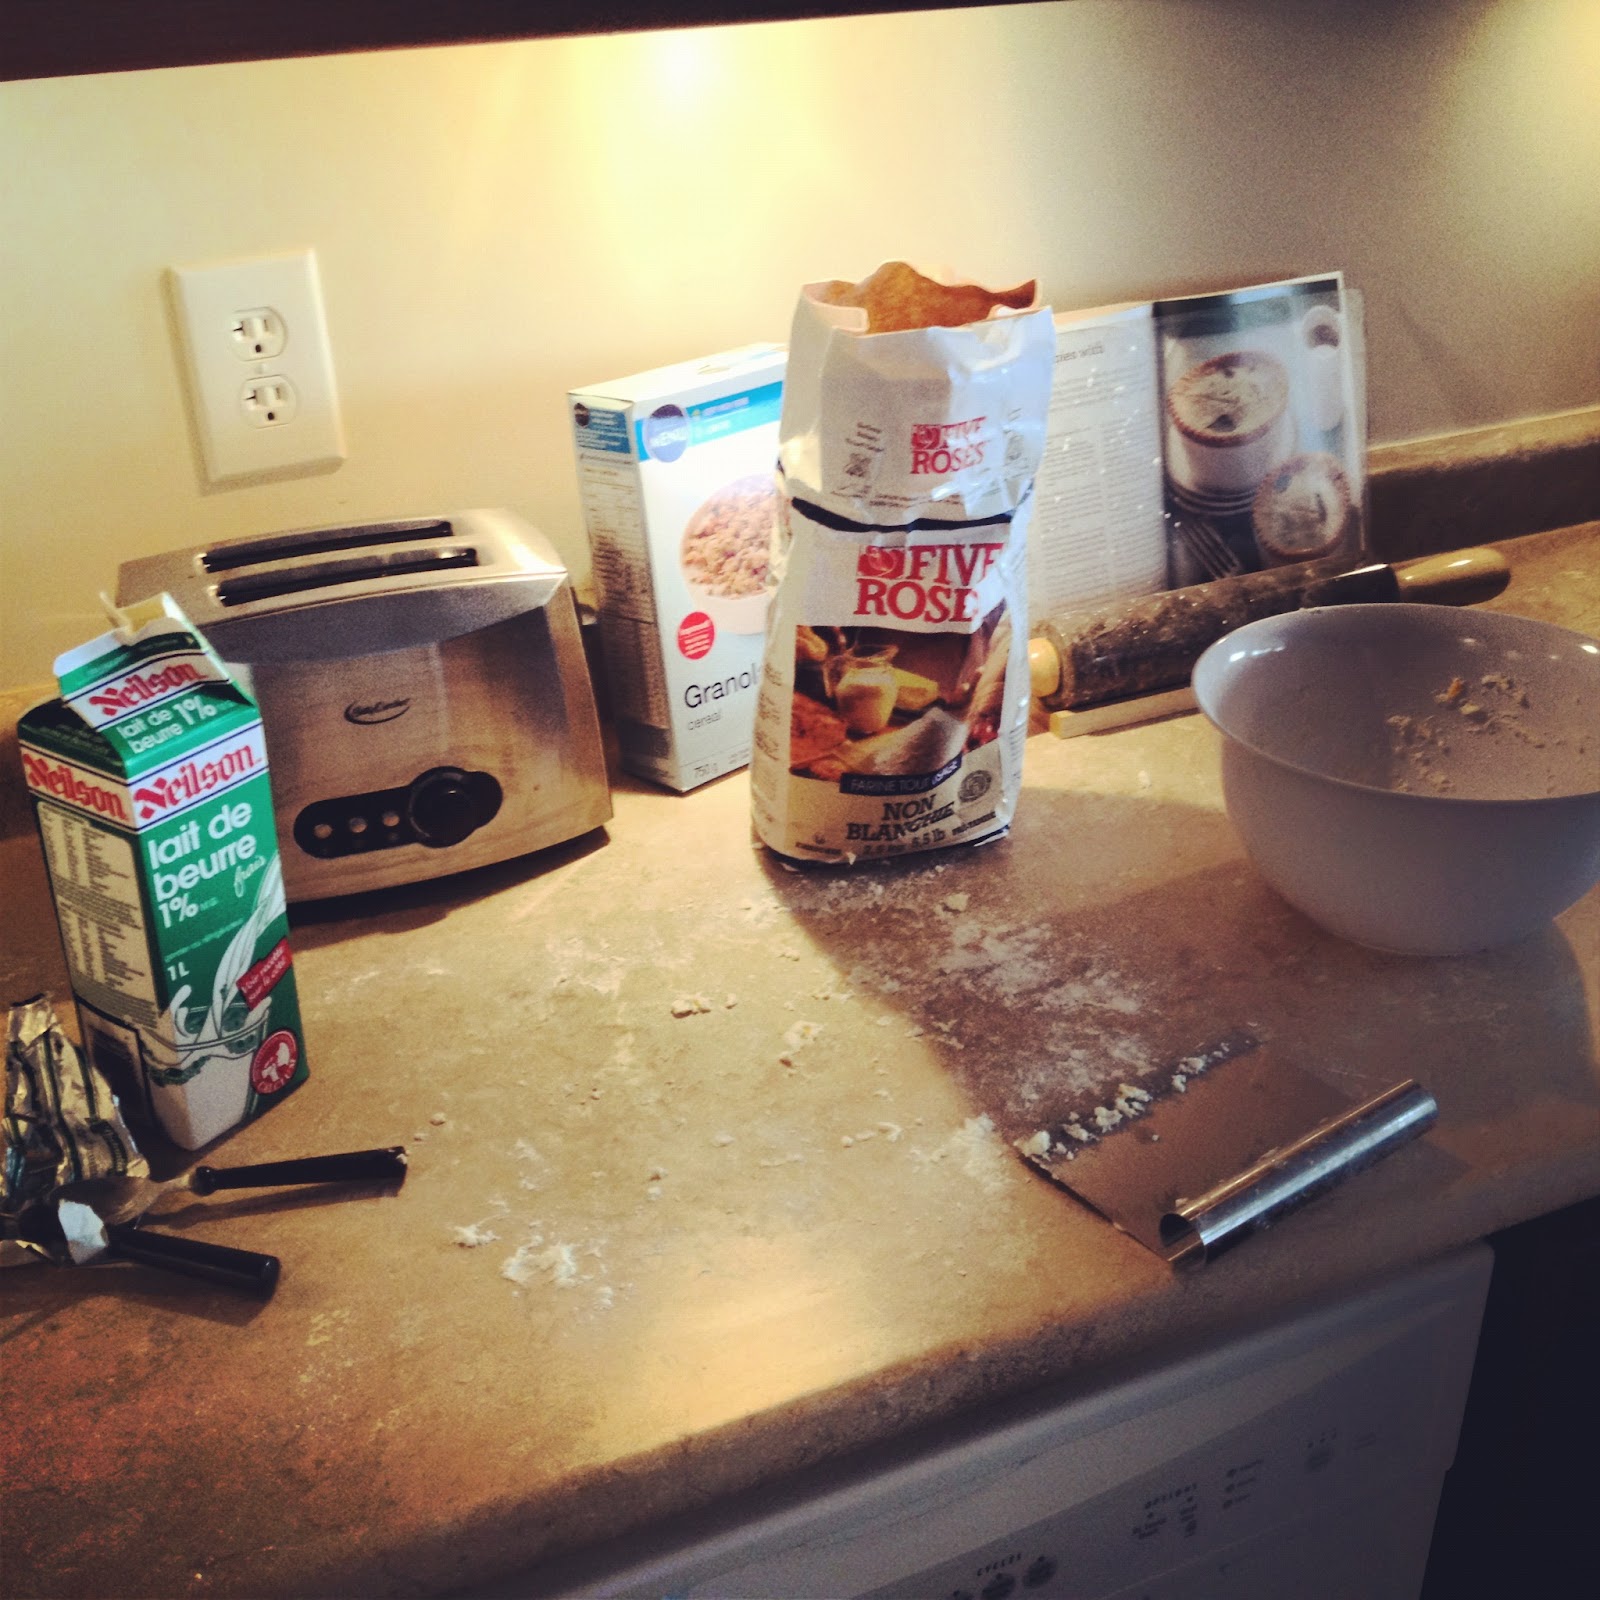
            Let’s not get ahead of ourselves though. Even before you soak your chips, you may want to make a homemade barbecue sauce, because you’re jazzy like that. I used the recipe I found here and it was delish. However, I doubled all the spices because I found it didn’t have enough heat. This is what I did:

·      1 (15 oz.) can tomato sauce
·      2 tsp. olive oil or canola oil
·      2 tbsp. chili powder
·      2 tsp. paprika
·      2 tbsp. Worcestershire sauce
·      2 tsp. crushed red pepper
·      1/2 tsp. salt (I have a smoked sea salt, which I used, but regular salt is fine)
·      4 tbsp. cider vinegar
·      1 tsp. black pepper
·      1 tsp. garlic powder
·      1 tsp. prepared mustard
·      1 finely minced onion

The earlier you make this sauce, the more time it has for the flavours to blend and become delicious. It only takes five minutes to make, so do it as early as you can and then just keep it in the fridge.

When your sauce is made, and your chips have soaked, fire up the grill. Place the chips in a package made of tinfoil, and poke some holes in the top for the smoke to escape. Season your chicken with salt, pepper and maybe a little paprika. Place the chips package before the chicken on the grill to give them time to start smoking. If your barbecue is fancier than mine, crank the heat under the wood chips, but keep your chicken at medium. Cook for 25 minutes with the lid closed. Baste with your homemade sauce every 6 minutes or so. Do this quickly though so not all the smoke escapes!

For your roasted tomatillos, all you need is tomatillos (2/person) a few shallots and a couple of cherry tomatoes. I like to use the colourful tomatoes because they just look pretty. Put these on a roasting pan and drizzle with olive oil, balsamic vinegar and salt and pepper. Roast at 375° for 15 minutes or until the tomatillos are soft. You can serve this on its own or on a bed of arugula. Use the roasting pan drippings as the salad dressing.  

And that is all. My godson at this last night for dinner and after the first bite of rice he said, “Mmmmm. Tastes like Mexican!” which was hilarious because he is three and that was a pretty detailed food review for a three year old. But as you can see, it was a crowd pleaser all around! 

Wednesday 25 July 2012

Cheddar and Chive Scones


Because you are a loyal readership, I am going to tell you something. Those cupcakes I made, the ones in which I barely had enough sugar for and didn’t wait until the butter had softened properly, did not turn out. This is why if you are going to serve something, you should try one first. I, of course, do not like cupcakes, so I tried pawn them off on my sister before anyone else ate them. She didn’t take the bait though, so when people unpeeled the wrappers at the dinner party I brought them to, I had to cry out in horror, “Something is wrong! Don’t eat them!” How did I know something was wrong before someone even bit into it, you ask? Because they were in no way the texture a cupcake should be. They were denser than the super bounce balls we used to get from the vending machine at my grandma’s mall. (You know, the kind that you could just barely drop on the ground and they would bounce 50 feet into the air.) The people who ate them mustered every social sensibility they had to say they were fine, but the biggest compliment that I received was that they were, “Not bad.” This is the dinner party equivalent of, “I would spit this into the toilet if I didn’t think it would clog the pipes,” if people just actually said what was on their minds. Someone tried to throw the excuse of overbeating the batter out there, but I know where I went wrong. (As a side note, you know something is truly terrible when the people eating your food try to give excuses for what went wrong.) When creaming the sugar, eggs and butter together in the very first step, my butter wasn’t room temp and it didn’t cream smoothly. This created lumps of butter, which translated to greasy, dense, rubbery cupcakes that people could hardly choke down, which is of no fault of the recipe. Remember I said you couldn’t mess around with baking recipes? You have to follow the instructions exactly, and I did not, and look what happened. At least they were pretty to look at.

Luckily, I will never again attempt to give you another dessert recipe, although as I said, these cupcakes are actually delicious when you do it properly. That’s what I get for having zero patience and little care for attention to detail. (Along with my complete lack of self-control, these could be my three biggest personality flaws in all facets of life, but that kind of self-analysis is not meant for a light-hearted food blog.) Now, there is one type of baking that marries well with my impatience, and that is baking biscuits and pastry type things. They work well because in these recipes, you actually want little lumps of cold butter here and there, because that is what creates fluffy biscuits and flaky pastry. This means no waiting for your butter to become room temperature, which means no level of annoyance for me. Also! You don’t have to do any kind of dramatic alternating adding of dry and wet ingredients, which also confuses me and makes me not want to bake.

Cheddar and Chive Scones are one of my favourite things to make. They are great on their own with a little butter, but if you want to get really fancy, you can slice them open and make little sandwiches on them too. This what you need:

·      2 ¼ cups of all-purpose flour
·      2 tsp baking powder
·      ½ tsp baking soda
·      ½  tsp black pepper
·      Pinch of salt
·      2 tsp chopped chives (or whatever herbs you like)
·      1/3 cup unsalted butter
·      1 cup buttermilk
·      ¼ cup cheddar cheese (I like the orange cheddar because it gives nice contrast with the chives)

If you dare, you can leave out the herbs and savoury ingredients, and use a teaspoon of vanilla and a tablespoon of sugar to make them sweet. My ego still isn’t over the emotional trauma of the cupcakes though, so we aren’t going to talk about that.

1.     Preheat your oven to 400°. Combine your flour, baking powder, baking soda, herbs, salt, pepper and cheese.

2.     Add the butter in with your fingers and crumble until the mixture is the size of peas.

3.     Add the buttermilk and mix with a fork until the mixture if just combined. (Remember how someone said my cupcakes were overbeaten? This is where that can happen, so go easy on the mixing.)

4.     Turn onto a clean (obviously), floured work surface and cuts scones into rounds, squares or triangles. (Try to avoid using a glass for this because it mashes down the edges of your scones.)

5.     Place scones onto a parchment lined baking sheet and place in the oven.

6.     Bake 12-14 minutes or until scones are risen and golden brown.


These are lovely things to bring as a hostess gift, especially if you put them in a pretty box. And I promise, this recipe will not fail you. I made them this weekend to bring to a cottage and was told I “nailed them”. Much better than “not bad”! 

Saturday 21 July 2012

Costa Rican Rice and Beans

Have I already mentioned Costa Rican beans and rice? Well if I have, it bears repeating. First of all because I have nearly reached the age where I can repeat myself endlessly and nobody has a right to question that, but mostly because it's so delicious that it surprises me every time I make it. I found this recipe on the internet last year because Kelly was doing an internship in Costa Rica and I wanted to feel a connection to her. She hated that time in her life, but I've stayed with the recipe because my life is one big, live, relentless episode of Dinner Wars and rarely do my partner and I find a dish we both mutually like.
He is Portuguese and of course I have that Newfie background, so we go grocery shopping together and literally, he takes his cart and I take mine and we meet outside back at the car when we're finished shopping. When we get home, he puts his groceries away and I put mine away and we have both agreed not to ask what the other one bought. The law of the land in our house that the first person home is in charge of cooking dinner. Since he is a seasonal construction worker, it goes without saying that he cooks all of the meals in the winter during his layoff time and I cook the summer dinners when he is back to work.
BUT! There are the few days of the year when it rains hard enough for his crew to be sent home early! I watch the skies like a hawk and I have a weather alert alarm programmed into my cellphone for just these occasions. These are the days that I come roaring through the neighbourhood and into the driveway on two wheels to beat him to the stove! I can put up with the pig's ears and cow gut lining stews during the winter, but I somehow can't tolerate it during my six month cooking shift. My rule is that I promise to at least taste everything he makes and I usually end up putting the fork down immediately thereafter. I don't blame it on the national cuisine of Portugal in the least. He just simply can't cook. Even the dogs refuse his cuisine. Poor him. But luckily he has me, and here we go with a dish we both love!
Pre cook a cup of long grain rice. You know the deal by now. No instant rice or you take a slap to the hand with my spatula! Long grain rice toasted first in a bit of butter and your liquid will be chicken stock.
While that is cooking, prepare the rest. You'll need:
1 finely chopped onion
3 cloves of finely chopped garlic
1 tablespoon of minced ginger
1 teaspoon of cumin
1 teaspoon of coriander
a generous splash of Worcesteshire sauce
a few drops of hot sauce (not too much)
1 can of black beans
3 sliced green onions
chopped fresh cilantro
juice of 2 limes
Saute the onion in some canola oil or vegetable oil. When it softens, add the minced garlic and ginger and let that saute for a couple of minutes. Add the cumin, coriander and worcesteshire sauce. Let that all mingle for a minute and add the cooked rice and the beans. You'll need a pretty big skillet to cook this. I should have mentioned that in the first place! Keeping the heat on Med Low, cover it and let it simmer for about 5 minutes. Add the green onions and cilantro and the hot sauce and some salt and pepper and the lime juice and stir it all up and serve. Theoretically this should be a side dish, but when mystery offal is for supper, it becomes the main for me! Thank God it tastes good! Hahah Enjoy and serve this with anything such as they do in Costa Rica!

Thursday 19 July 2012

Rosewater Cupcakes


Cupcakes are damn popular these days. Have you noticed that? Every time I turn around, there is some kind of new cupcake show on TV. As far as I can tell, it’s the only show supporting the Oprah Network. That, and “The Killer in Bed” or something like that. (I’m currently unemployed, so I’m allowed to make reference to the Oprah Network without judgment, thank you very much).

They do make for a pretty dessert! 
Now, anyone who knows me knows I hate to bake. I do. And I really hate to bake cupcakes because it’s tense and requires measuring. Ms. Graham, my grade 10 math teacher, will tell you that measurement has never been my forte. However, at the end of the day, cupcakes are pretty and people seem to like them, so I will make a batch occasionally. I just want everyone to know though before we start in that I am not jumping on any sort of cupcake bandwagon. After I post this, plus the brownies I did to begin the blog, I’ve exhausted my baking repertoire and I’ll have to leave it to Kelly and Mummy to give any more dessert recipes.

This whole cupcake thing for me began with a trip to the Asian grocery store in my mum’s town. Before that, I was annoyed with hype of the cupcake and couldn’t be bothered with them. BUT, it was a total delight of a trip, and my mum and I found lots of wonderful treats that you don’t necessarily come across in your local Loblaws (pig uterus, for example… If you have a recipe for that, email us so you can guest blog!)

Anyway, on this trip we stumbled across some rosewater! Maybe this doesn’t excite you like it did for me, because I cried out with joy in the store. It went like this:
Bailey: “Look Mummy! Sweet Jesus, they have rosewater!!”

Mummy: “Get it, Bailey! PUT IT IN THE CART!”

So clearly we were thrilled with this and I came home and instantly began to research uses for rosewater. (You can find some of my research here: http://www.livestrong.com/article/184771-uses-for-rosewater/ ) Rosewater is the elusive holy grail of baking ingredients. In fact, even sharing this recipe is special because right on the bottle of the rosewater it says, “Secret ingredient! Don’t tell people you use this in your baking!” Clearly, it’s a big deal.

The perfect pairing!
The best recipe I came across was for rosewater-vanilla cupcakes. They sounded so lovely and elegant; I couldn’t help but overcome my fear of the measuring cup and try them out. The recipe I used is adapted from this website: http://blog.modcloth.com/2012/02/09/sprinkle-bakes-guest-post-vanilla-rose-water-cupcakes/, except I use pure vanilla extract and rosewater instead of vanilla bean (I would use vanilla beans if I had $14.00 to spend on one pod of vanilla, but until then the organic pure extract will do). Here’s the recipe:

This is why icing sets are fun. 
FOR VANILLA CAKE 

·      1 1/2 cups all-purpose flour

·      3/4 teaspoon baking powder

·      1/4 teaspoon salt

·      6 tablespoons butter, softened

·      3/4 cup sugar

·      2 large eggs

·      1 teaspoon vanilla extract

·      1 vanilla bean, seeded and hull discarded

·      1/2 cup + 2 tablespoons milk

1. Heat oven to 350°F and line cupcake pan with papers.
2. Sift together flour, baking powder, and salt. In a mixing bowl, cream the butter and sugar until lightened in color and fluffy. Add eggs one at a time, mixing well between additions. Beat in vanilla bean seeds and vanilla extract.
3. Add flour mixture and milk alternately, beginning and ending with flour. When completely incorporated, divide batter evenly amongst liners, filling them 2/3 full. Bake for 15-20 minutes, but check them after 15. Cool completely before frosting.

See how annoying baking is? How tedious is that instruction “add milk and flour alternatingly, beginning and ending with milk”? What the hell could possibly go wrong if you ended with milk? ANYTHING. That is the thing about baking. One wrong turn and you’ve got yourself an inedible disaster. As a result, I followed this pretty closely, except of course I replaced the vanilla bean with 1 teaspoon of rosewater.

Now here is piece of advice: lay out all your ingredients when you’re baking before you even get out a mixing bowl. My mother has told me to do this my whole life, and I did not do that this time (nor did I the one time in high school when I made cookies with only half the flour called for and they came out as doilies instead of cookies). I was lucky to make the cupcakes because I barely had enough milk and I had to scrape the dregs out of my sugar bowl to have enough sugar. My mother is so smart; I don’t know why I don’t listen to her more. But anyway, the cupcakes got made and hopefully to God they’re good.
This disaster in my kitchen is only one of many reasons I hate to bake. 

Now the best thing about cupcakes is the icing, and that is also what makes them pretty. I have an icing set, with a pastry bag and everything, so that only adds to the fun. Well, it adds to the fun until you’re actually doing it and you’re on the tenth cupcake and you have a tension knot in your shoulder and your jaw is clenched from concentrating. Plus I had shakier hands today than Lindsey Lohan in Betty Ford, which I can only blame on my level of tension about the baking. I made a buttercream icing, which is very simple. Use one part softened butter to three parts of confectioner’s sugar (icing sugar) plus a splash of cream to make it softer. Don’t use too much cream or your icing won’t hold the shape of the icing tip. I also suggest letting your icing sit in the fridge a few minutes before you use it. Make sure your cupcakes are also cooled completely (if you have zero patience for that kind of thing, as I do, put them in the freezer to cool them faster. This may make them as hard as a rock, but that’s the price you pay for a lack of patience in baking).
 

Now be creative and ice them in visually attractive ways. And that is all you have to do. Enjoy! (And don’t tell anyone about the rosewater!)